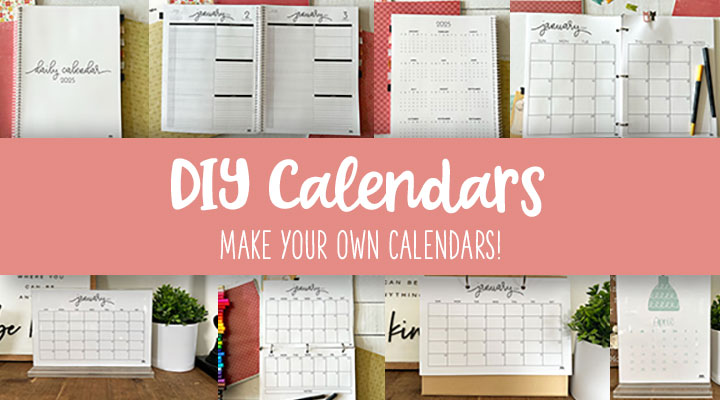
Here at Printabulls, we LOVE our calendars! Our small team of graphic designers and Moms each in their own way lead busy lives and a good calendar is a must to stay organized and lower stress levels. This chaos of life and the desire to help others enjoy, not merely just survive, the journey is one of the main reasons we offer so many free printable calendars. At that link, you’ll find almost every type of printable calendar you could hope for – daily, weekly, monthly, annual, academic or school year calendars, summer calendars, 3-month or quarterly calendars and so much more. (You may also like our DIY Planner resources, which are similar but not exactly the same as the calendar options we’ve outlined below. We also offer a number of printable planners.) No matter which calendar (or planner!) you choose, we hope you find them as useful as we do!
With all that said, we also know that while a printed calendar on a single piece of paper is nice, a calendar that is a bit more polished or “finished” for the lack of a better phrase is even nicer. And if said “finished” calendar can be free then you’ve really found something of value!
Thus, our goal with this page is to present a variety of options for do-it-yourself (“DIY”) calendars and how to make your own calendars using a few criteria: 1. it has to be fairly cheap after all costs are considered 2. it needs to be easy and 3. it needs to be pretty fast. Because if life is crazy enough that you need a calendar to keep everything straight, making your own DIY calendar can’t be expensive, complicated, nor time-consuming.
So we hope the DIY calendar ideas and options for a homemade calendar below check off all of those boxes and you find a DIY calendar method (and plenty of free printables across our site!) that you not only love but helps you in every way you need it to!
DIY Calendar Printing Pro Tips
Having printed A LOT of calendars and done extensive testing on everything we offer it should be very rare that you run into any issues when building your own DIY calendar. Nonetheless, a few pro tips worth mentioning to make your life as easy as possible while creating your calendar.
- Most of our calendars are designed to be printed and used on a full-size 8.5” x 11” (or vice versa) piece of paper. Exceptions are usually noted on the post itself for any given printable. Trying to print a full-size printable on any other size will get tricky very quickly and is fraught with hiccups and possible frustration. Our recommendation is to use our printables at the size they were originally designed for for the easiest DIY experience.
- The majority of the printables on our site are designed to be opened in a new tab after you click on the image of the printable you want. While you can then download the PDF to your local computer, we’ve found that from there (we use Chrome) it is easiest to simply click print and use Google Chrome’s printing dialog box to do all of the printing. In our experience, almost without fail, this will work without issue for all of our printables.
- As it relates to which program you choose to print from, even if you download the PDF file to your local computer and then use a program like Adobe Acrobat Reader to configure your printing settings, it is very rare to have any issue with our files as we typically test 3rd party programs to make sure everything prints smoothly.
- Most of our printables are designed in a way that we’ve accounted for any printing margins that result from the actual printing. While you can always play around with settings as needed we’ve found that usually the only setting that needs configuring is if you want to print borderless as a small minority of our pages have designs that extend all the way to the border. For these pages, it will look best if you choose the “borderless” printing option to print the file. We’ve found that you typically need to use your actual “system dialog” printing interface to find this setting if your printer offers it.
- Not all of our pages have been designed with double-sided printing in mind but the ones we assume will most often be used as DIY calendars have been. These printables should look great whether you print single or double-sided and you’ll just need to either check our tutorials further below as to how best to configure these or experiment with the flip on long and short edge options offered by Chrome’s print dialog box or any other 3rd party’s print dialog box settings.
- From painful experience, we’d highly recommend printing a page or two to make sure you have all your settings configured just as you want them before printing lots of pages that in the end just won’t work with what you’re trying to create.
- Lastly, complaints and feedback that our printables are not working are few and far between. Thus, if you’re running into issues it’s likely some kind of setting on your end. We strongly encourage a can-do spirit and one of tinkering so as to be willing to adjust settings and try different things if your printer settings and final printed product aren’t quite what you had hoped for. We’re confident if you have the right attitude and a little patience they should work great no matter your setup in terms of program, printer, and desired DIY calendar finished product.
While that seems like A LOT of information it mostly is “extra” to hopefully help you tackle any hiccups that you might encounter. In our experience, and our intent when designing our free printables, is to make it as easy as possible for anyone to print them no matter the end configuration.
DIY Calendar Step-By-Step Tutorials
DIY Spiral Bound Calendars
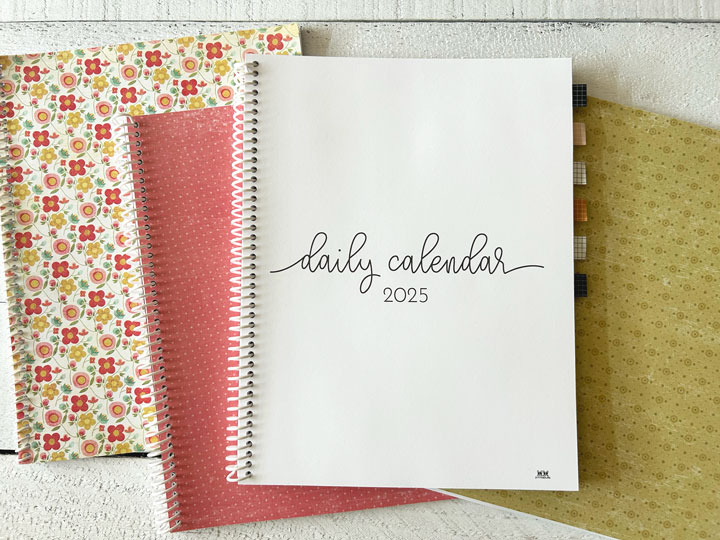
Perhaps the most versatile and sought-after option for a DIY calendar is one that is spiral bound. While these DIY calendars may seem like they are a ton of effort and hassle given how nice the spiral binding and finished calendar look they are actually pretty easy to pull off. Any of our monthly calendars (always found on our free printable calendars page) will work great as a spiral bound option but there are two other options that are the best suited for being bound. The first is our annual Hourly/Daily Calendar and the second is our annual Weekly Calendar. Both of these, again, can be found on our free calendars page linked to in this paragraph.
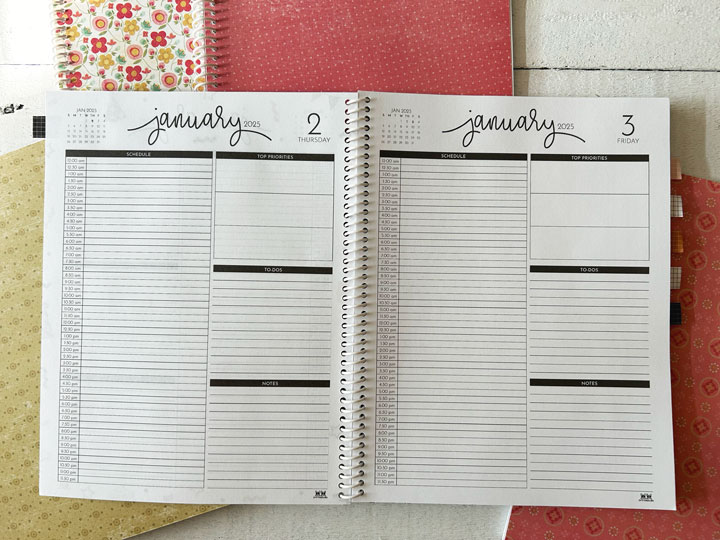
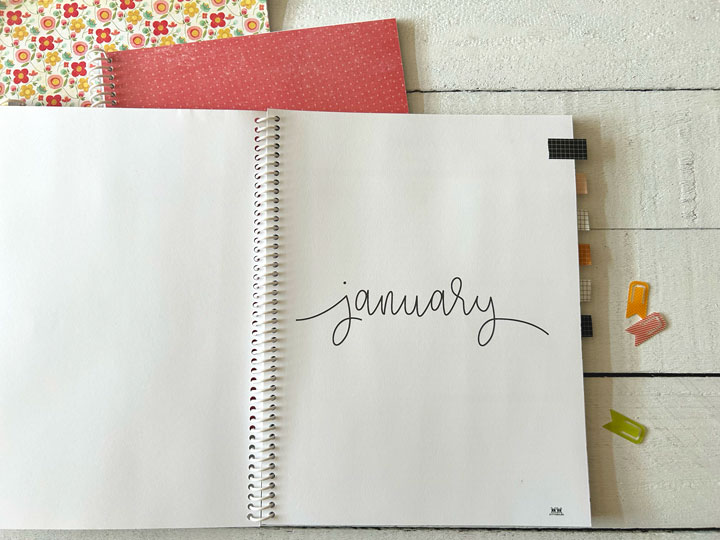
As of writing, the former is offered in two different styles and provides a daily calendar page for the entire year with a full schedule area broken into 30-minute time slots as well as a daily top priorities, to-dos, and notes section on each day’s page. You’ll also find a front and back cover page as well as monthly dividers if you’re interested in adding some extra pages.
Our annual Weekly Calendars come in a single style but 8 different calendar options that will assuredly help you find one that is suited for your needs. These calendar options include 5 and 7-day options, blank and time-slot daily areas, as well as some with extra sections that include top priorities, to-dos, and notes. These calendars are designed for all 53 weeks of the entire year so you get the tail end of one year, the entire current year, and the very beginning of the next depending on how the days of any given year play out. This one likewise comes with a front and back cover page for those wanting to add those final touches to their annual weekly calendar.
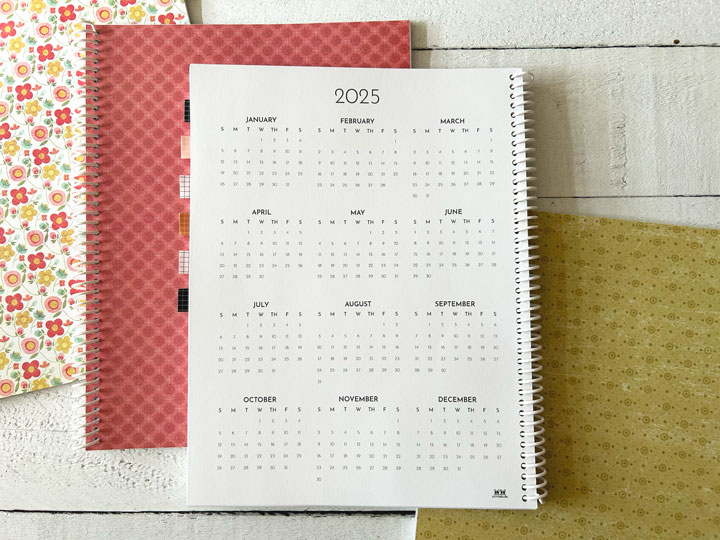
While these two calendars described above are probably your best options for a spiral bound diy calendar, you can of course mix and match not just with these calendars but other calendars and the myriad of other printables across our site to create your own DIY calendar exactly as you envisioned and at a fraction of the cost (our printables are always free with no strings attached but we’re assuming some cost on your end for the actual printing of the calendar and possible needed supplies) if you were to buy it.
Without further ado, here’s your step-by-step tutorial for how to print and bind your own calendar at home.
- Choose the printables you want to include.
- Print all pages (you may want to check out the pro tips section further above if there are designs that extend to the borders and/or if you’re printing double-sided) that you will include. This could include just the calendar pages, cover pages, and/or so much more.
- Stack and align your paper that will need binding holes. While doing so, ensure that pages will have binding holes on the correct side of the paper based on how you are stacking them. I.e. keep an eye on pages such as the back cover pages to make sure they will work correctly once bound.
- Slide your stack of papers into your binding machine in order to punch the appropriate holes down one side of all of your papers. (If you’re doing lots of pages you’ll likely need to punch holes in your calendar pages in batches. I.e. If you have 100 pages you may need to do five batches of 20 pages so your machine can easily and cleanly punch through the stack of papers.)
- Feed the binding coil through the just-completed binding holes. (If you’re doing one of our calendars that offers a page for every day of the year make sure the coil you buy and use has sufficient capacity for the 365+ pages that will be in your calendar. A coil too small will not work when you try to add all of your pages.)
- After your coil is fed all the way through the holes, use the needed pliers to cut off the extra coil length. At the same time you can pinch or finish off the coils so it can’t feed through the holes at any point nor will it snag on anything.
- You have a spiral bound calendar!
If you want to add a bit more durability to your spiral bound calendar we’d recommend using cardstock for your cover pages. Likewise, adding a nice laminate page over top of this cardstock (front, back, or front and back) will make your calendar all the more durable and super nice looking! Any and all needed supplies we’ve referenced in this tutorial can be found in a section at the bottom of this page.
Alternatively, if you’re wanting a spiral bound DIY calendar but don’t have the needed supplies (or would rather not have to buy them) most print shops can help you out. Simply take your PDF files to the print shop (or print them at home in advance) and they can bind everything for you.
Enjoy!
Any supplies we used in creating our spiral bound calendar, including the pictured extras, are in the Resources section at the bottom of this page.
DIY 3-Ring Binder Calendars
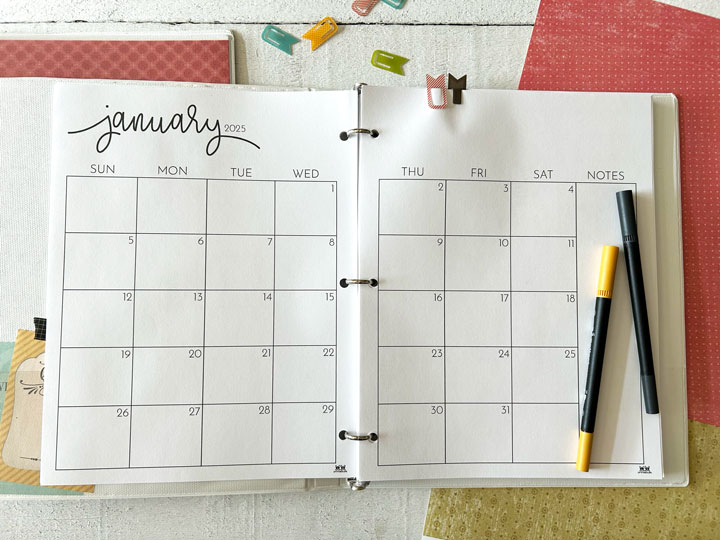
A similar option to binding a calendar yourself is using a 3-ring binder. As mentioned above, our monthly calendars (ESPECIALLY one of our 8 two-page spread options – these are in their own section within any given monthly calendars page.) or the hourly/daily or weekly calendars would probably make the most sense but the world is your oyster when it comes to creating your own calendar with our printables. As a reminder, all of the aforementioned calendar printables can be found here: printable calendars.
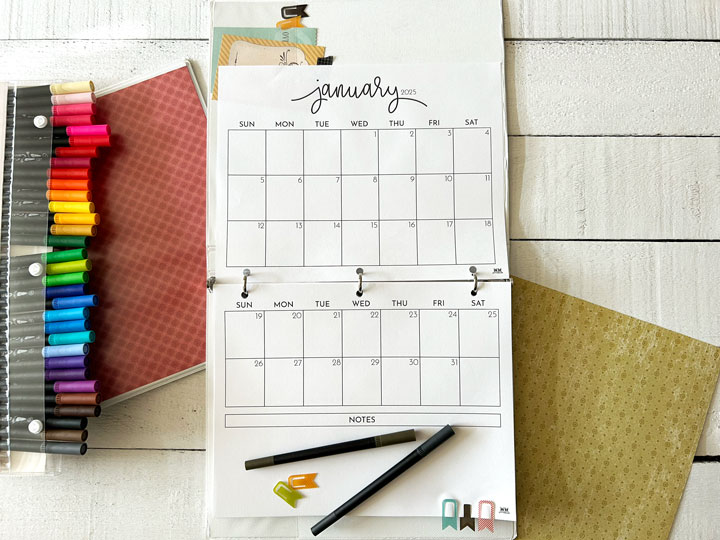
The primary advantages of going the 3-ring binder route is that it can be a bit more cost-effective (if you don’t have a binding machine nor binding supplies or want to buy one given the cost) and easier (if you don’t have the requisite binding supplies then doing so may require a trip to a print shop with your printed calendar to get it bound) than the popular DIY spiral bound calendar as outlined above.
If you do choose to use a 3-ring binder for your DIY calendar, here are the steps to creating your very own:
- Choose/select a binder of your choice. Depending on which calendar you choose to use, make sure the binder thickness is sufficient to hold all of your printed pages. We’ve typically used a 1” or 1.5” binder with good results.
- Choose the printables you want to include.
- Print all pages (you may want to check out the pro tips section further above if there are designs that extend to the borders and/or if you’re printing double-sided) that you will include. This could include just the calendar pages, cover pages, to-do lists, and so much more.
- Stack and align your paper in preparation for hole punching. Make sure that your papers are stacked in a way that they will work once hole-punched and inserted into your binder.
- Punch holes in all pages that will be included in your calendar.
- Insert the printed paper with hole punches into your 3-ring binder.
- You now have a DIY 3-ring binder calendar!
As pictured further above in this section, while the tutorial steps will give you a basic yet nice binder calendar, there’s a lot more that you can do to make your binder calendar all the more polished and pretty. This includes inserts into the front and back covers which most binders have sleeves for as well as the spine sleeve. Any kind of cute paper cut to the right size (or cover pages as provided by us) will give your binder calendar a great final touch.
If you’re wanting a DIY binder calendar but don’t have the needed supplies or don’t want to print that many pages at home most print shops can help you out. Simply take your PDF file(s) into the print shop and they can easily print (and hole punch) everything for you. They may even offer 3-ring binders but we’d recommend just buying them at a big box store or online as they are likely cheaper than what the print shop is selling them for.
Any supplies we used in creating our 3-ring binder calendar, including the pictured extras, are in the Resources section at the bottom of this page.
DIY Desktop Flip Calendars
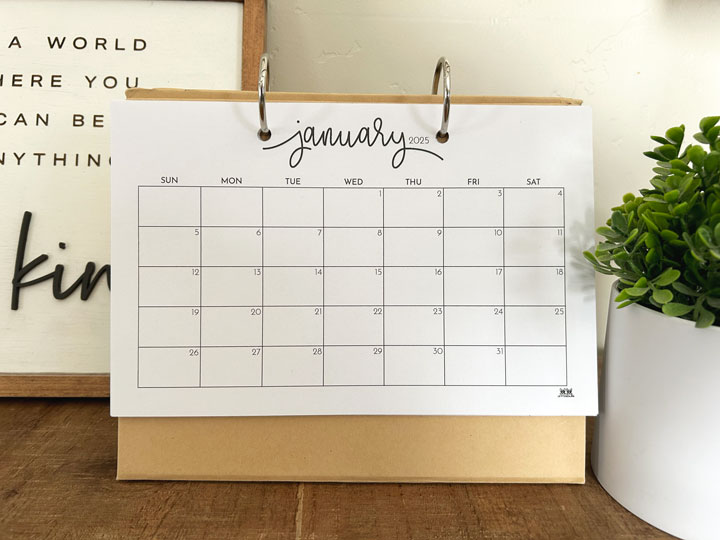
If you’re looking to create your own mini DIY desktop flip calendar (the printables we offer that will work for this tutorial are the 5 found in the Small Desktop Size section of any given monthly calendars page), follow the tutorial below and you’ll be all set!
- Choose/select what you’ll use for the flip portion of the calendar. I.e. the base with the rings. See below for the one we chose and that is pictured.*
- Choose the printables you want to include. Again, we offer 5 different half-page options that would be compatible with this DIY method. They are always in the monthly calendar posts in the “Small Desktop Size” section.
- Print all pages that you will include.
- Cut your paper to size. The small calendars we are alluding to are designed to be cut in half horizontally or vertically so they are 8.5” x 5.5” or vice versa. Depending on your chosen base, you may have to trim these slightly. For the base we used, when cut horizontally, they hang just slightly past the edges. If you’re a perfectionist, a quick trim will fix this. Otherwise, they still look great with just a single cut.
- Punch the needed holes for your base’s rings.
- Put your rings through the paper and base.
- Set your base where it is intended to be used and you have a mini flip calendar for your desktop or otherwise!
* The base we found and used as pictured in all honesty is serviceable but not awesome. While it will work for a cost-effective flip calendar in an ideal world we’d prefer something a bit more sturdy and less-cheap looking (although we didn’t doll it up at all). So while we’ve included this method to show that this is just another option for your own DIY calendar we’d recommend spending a bit of time and finding a really sturdy and good-looking base that will work well for the long-term with these half-page calendar printables that we provide.
Any supplies we used in creating our desktop flip calendar, including the pictured extras, are in the Resources section at the bottom of this page.
DIY Display / At-a-Glance Calendars
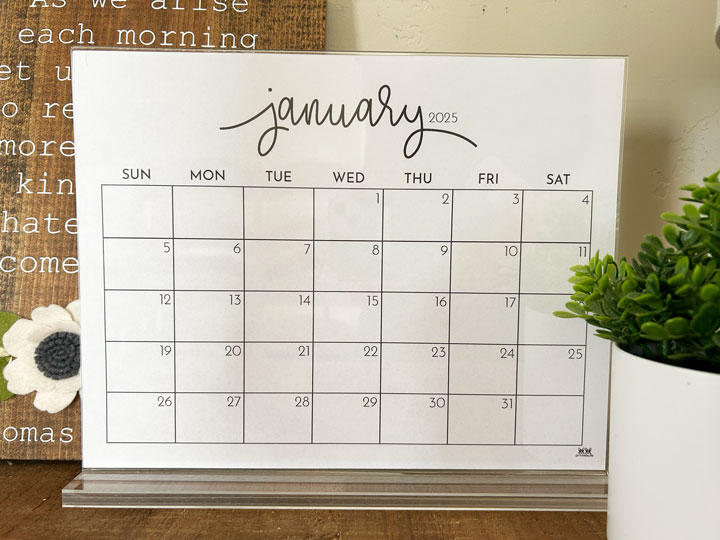
While most of our calendars provide some way or area to write in all the to-dos and happenings of your busy day-to-day we also offer a number of calendars that are meant to be used as at-a-glance calendars. These calendars are the printed equivalent of being able to click or view a digital calendar that shows you all the days of the week and dates of any given month really quickly for reference purposes. While the digital equivalent will always work great, sometimes it’s nice to eliminate those few clicks to get to said calendar (or avoid having to put it in a visible position that crowds out other valuable screen space) by having it in printed format for your desk or space. Additionally, there is just something about the added aesthetic appeal of a printed display or at-a-glance calendar that can’t be matched by the digital equivalent.
If this type of calendar interests you, we offer a few different options. From our free printable calendars page, you can navigate to any monthly calendar offering and choose the full-size “At A Glance” calendar that we offer each month or go to the “Small Desktop Size” section and find two more half-page size calendars that are intended to be at-a-glance calendars. Additionally, our annual calendars (these are full-size) would work great with this DIY method.
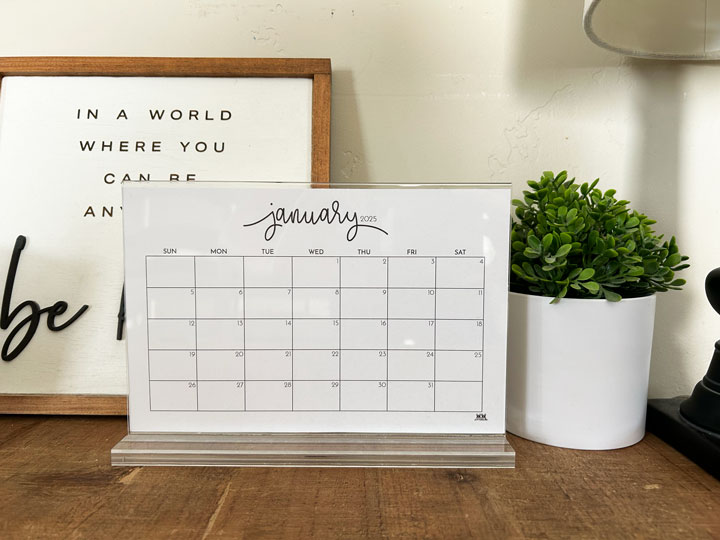
And with all that said, you can still use pretty much all of our calendars that allow you to write in everything you need with this DIY method just know that if you choose to do so you’ll likely need to put in and take out the calendar often as things change or need updating.
Whatever calendar type you choose to use, here’s how we created our own display calendar
- Choose/select what hardware you’ll use for display purposes. The acrylic stands pictured and used by us were found on Amazon and look and work great! The links to these are in the Resources section at the very bottom of this page.
- Choose the calendar printable(s) you want to display.
- Print your calendar of choice.
- Insert the calendar into the hardware or display option.
- Set up your display calendar wherever you’d like.
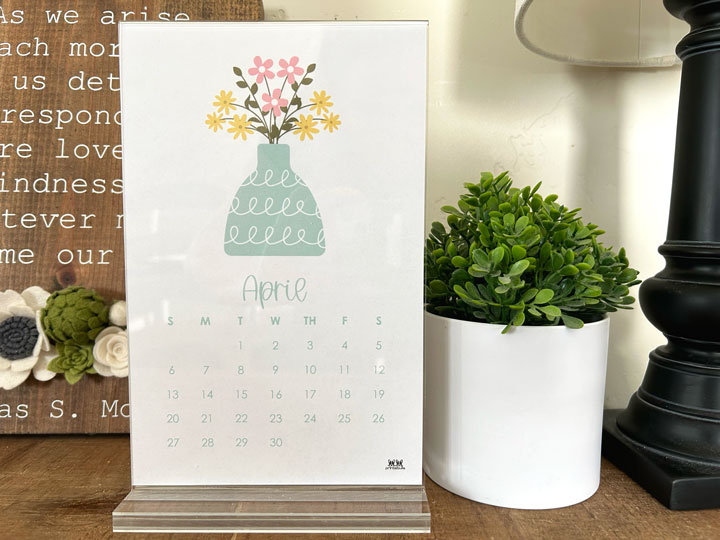
As noted in the steps above, any supplies – including the acrylic frames – we used in creating our do-it-yourself display calendar are in the Resources section at the bottom of this page.
DIY Large Wall Calendar
Many people either remember or maybe still use those HUGE calendars that come with some kind of stiff backing, a black top, and bottom corners that have the black triangular protectors that can be hung on a wall or used on a flat surface. If purchased, these calendars then allow you to tear away the old month and start a new one all year long for whatever year we’re in. They still sell these calendars and you can buy them in big box stores and, these days, pretty much anywhere online.
If an oversized wall calendar is what works best for you we have a couple of different options every single month that will work great as a monthly wall calendar at likely a fraction of the price of having to buy the wall calendars described in the preceding paragraph. And the tutorial, if that’s what you would call it, for this type of calendar is the easiest of them all.
In any given month we offer two wall-sized calendars. One is 24” x 18” and the other is 36” x 24”. These can be found by going to our calendars page and then choosing any monthly calendars post. Once you’ve chosen the month and year that you want, simply scroll down to the “Large Wall Size” section (just after the two-page spread calendars). There you’ll see the options alluded to. Simply click on the image of the size you prefer, download your PDF file, and then take that PDF file to any print shop and they will be able to print you a large wall-size calendar. You can obviously do this a month at a time or navigate to all 12 months of any given year and take all the files needed to print each month all in one shot. Determine the wall or flat surface where your calendar will be used, affix it in the best way suited to your circumstances and you’re all set! It doesn’t get much easier than that!
Additional Calendar Resources
As noted throughout this page, we have HUNDREDS of free calendars available to print from home. If you’re ready to make your own homemade or DIY calendar then check out the links below or use the search bar in the sidebar to find exactly the type of calendar you need/want before making your own calendar using one of the methods on this page.
ALL Calendars – Check out all of our free printable calendars at this link.
Blank Calendars – Choose from a variety of blank calendar pages.
Planners & DIY Planner Tutorials – Very similar to our DIY calendars, check out everything we offer for free printable planners (first link) and the accompanying DIY planner tutorials (second link).
DIY Calendar Resources
The resources further below include any and all supplies and “tools” that we’ve used on this page in the various DIY calendar methods presented. We have intentionally omitted these links from the various sections above as our intent is to help you build your own DIY calendar and not sell you products. Nonetheless, we do want to link to all of the necessary supplies and tools that you might need. And, additionally, all of these links do act as “affiliate” links. This just means that if you click on them and then end up buying them on Amazon, Amazon sends us a very small percentage of the purchase price as a kickback for sending customers their way. There is ZERO impact or effect on your end purchase but a little money from Amazon comes our way. This helps us provide all of our printables for free but we don’t rely on this revenue and thus truly only list the supplies/tools we think you’ll need and not what will make us the most money! Lastly, if you already have the needed supplies or choose not to buy them it doesn’t affect us whatsoever, and all the easier for you to build your own DIY calendar!
It is worth mentioning that anything and everything we’ve listed and/or linked to are products we love and use ourselves. None of them are included because the company gifted them to us or is paying us to use them. These are just the ones we’ve always used and think are the best ones out there based on years of personal experience. Lastly, there is ZERO obligation to click on these links or use the exact resources we’ve linked to. Everything on our site, including ALL of the printable calendars or otherwise, is still FREE with no strings attached and we hope you can create something useful for your unique circumstances.
Regardless of what you choose to make or what supplies you may or may not need, we hope you’re able to build your very own calendar exactly as you’d hoped and for as little cost as possible!
Resources for DIY Methods
Any resources specific to a DIY method outlined above are listed in the specific DIY section below. Otherwise, they are listed in the General Resources or Extras sections after the DIY methods.
Spiral Bound Calendar
Binding Machine – To punch the binding holes in your paper. We’ve also heard good things about this Fellowes Binding Machine but have never owned/used it like we have the TruBind one.
Binding Coils (375 Sheet Capacity) – Binding coils needed for your prepared calendar.
Binding Coils (425 Sheet Capacity) – Binding coils needed for your prepared calendar.
Coil Pliers – To finish off the ends of your coils if needed.
3-Ring Binder Calendar
3-Ring Binder – This one has a variety of sizes available and the plastic sleeves on the spine, front, and back for additional decorative purposes.
Triple Hole Punch – For punching holes in your calendar pages.
Desktop Flip Calendar
Base/Stand – The base + rings for your calendar pages. As noted in the DIY section, we don’t love this one but it’s serviceable enough.
Paper Cutter – For any paper cutting needed for the half-page calendars.
Scissors – For any additional needed paper cutting.
Single Hole Punch – For one-off holes, if needed.
Display / At-a-Glance Calendar
Acrylic Display 11” x 8.5” (Full Size Horizontal/Landscape) – For your at-a-glance or display calendar.
Acrylic Display 8.5” x 11” (Full Size Vertical/Portrait) – For your at-a-glance or display calendar.
Acrylic Display 8.5” x 5.5” (Half Size Horizontal/Landscape) – For your at-a-glance or display calendar.
Acrylic Display 5.5” x 8.5” (Half Size Vertical/Portrait) – For your at-a-glance or display calendar.
General Resources
Printer Paper – We’ve used both HP and Hammermill with good results.
Cardstock – For your cover pages and dividers if you prefer something more durable.
Patterned Scrapbook Paper – For extra decorative purposes in binder sleeves, etc.
Laminator – A great laminator we’ve used to make more durable cover pages.
Lamination Sheets – Lamination sheets for cover pages and the like.
Clear PVC Covers – Like lamination sheets but even more durable for your cover pages.
