Social Love
Our mission is to create the biggest collection of free printables on the web. Our hope is that these will help people be less stressed, more organized, happier, and ultimately spend more time doing things they enjoy instead of just keeping up with life!
ALL of our printables are 100% FREE.
As we try to keep our printables free forever, while there is no obligation to do so, ANY publicity you can help give us would be so appreciated!
A follow/share on social media, sending an email to an interested party, a link from your own blog or website, a pin to your Pinterest account, a verbal mention or text to a friend, family member, or colleague, etc. Whether it’s these printable planners, our printable calendars, or any of our other free printables, thank you so much for anything you can do to help us grow and keep our printables free!
Please note that “supply” links on this page do contain affiliate links. This simply means we make a little money if you end up purchasing items after clicking on the links. No extra cost to you in any way just one of the ways we keep these printable planners 100% free and something we need to disclose. 🙂
__
DIY Planners – What’s Available
Alongside a trusty monthly calendar, there might not be anything better to stay organized than a yearly planner with a variety of planner pages. While technology helps so much these days there’s just nothing like a good ol’ fashioned printed and tangible planner!
For our fellow planner lovers, we wanted to not only provide plenty of free 2025 planners but also provide step-by-step instructions on how to make your own 2025 planner. Because we all know planners aren’t cheap these days!
So, before we dive in here’s a quick breakdown of what’s available.
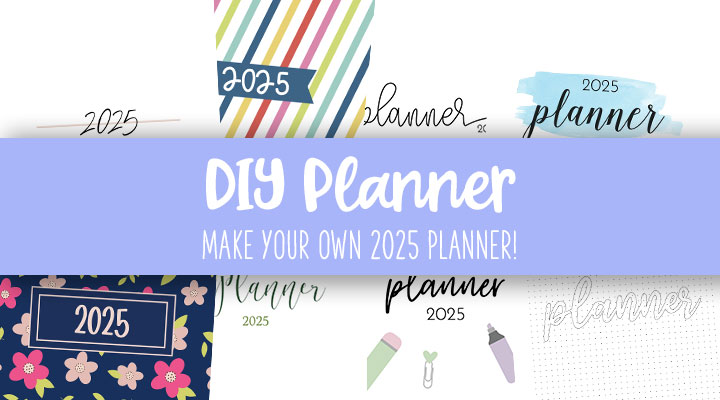
We’ve created 8 unique planners each with their own style, designs, color, and more.
Additionally, we’ve created each of these 8 planners in three different sizes – Full Size (8.5” x 11”), Medium (7” x 10” or trimmed to be 7” x 9”), and Small (5.83” x 8.27” – more commonly called A5 size).
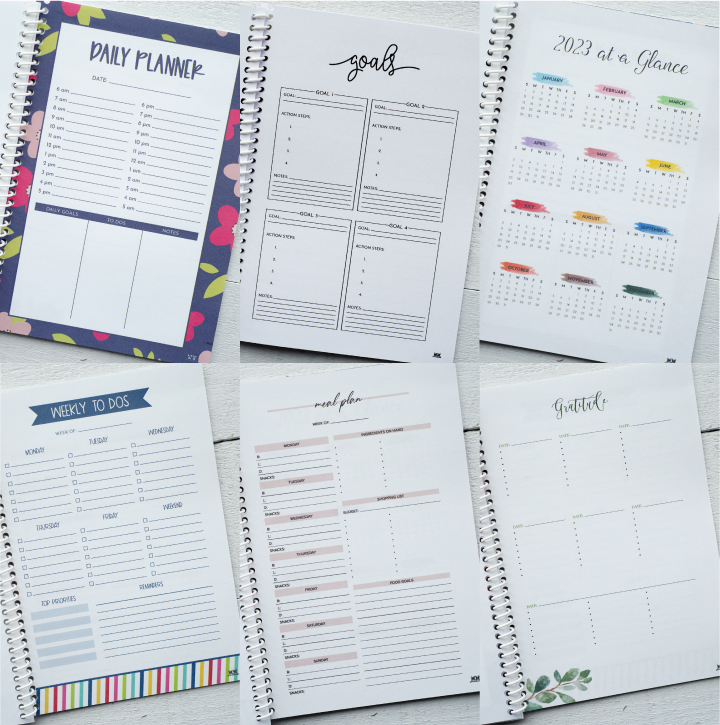
Each of these 8 planners (in all three sizes) comes in an a la carte type setup with 15 planner page types to choose from so you can build your planner exactly the way you want!
All are 100% FREE.
As we said above, any social love and sharing you’re willing to do would be so appreciated!
For those scoring at home, here’s an even more concise summary:
- 8 Planners
- 15 Page Types
- 3 Sizes
DIY Planner Pages
If you’re a confident DIYer and are ready to build your own DIY planner without any help you can pick and choose the planner page types for any of the 8 planner designs in the following posts. Each post will have the planner page type in the 8 designs and in all three sizes for any given planner style.
Monthly Planner Pages (Inserts & Planners)
To Do List Planner Pages (Weekly & Daily)
Gratitude Journal Planner Pages
All Free 2025 Planner Page Printables
DIY Planners
Alternatively, if you’re really wanting that affordable (see: free) planner and need a little “how to” help then please keep reading!
We’ve put together a couple of mini tutorials along with images of how we used these free printable planner pages to build our own printable 2025 planner from scratch using a 3-ring binder and using a binding machine.
We also cover your options for taking it to a print shop or big box store to have it bound professionally (still FAR cheaper than paying for one!).
Lastly, we’ll also include any pro tips and pointers for each of the three sizes given the differences and pros/cons that might come with each one. After printing every single page available (672, but who’s counting!?) trust us when we say we have a few tips and tricks worth reading through as it should easily cover the price of admission before you build your own free planner! 🙂
DIY Option 1: Building A Binder Planner
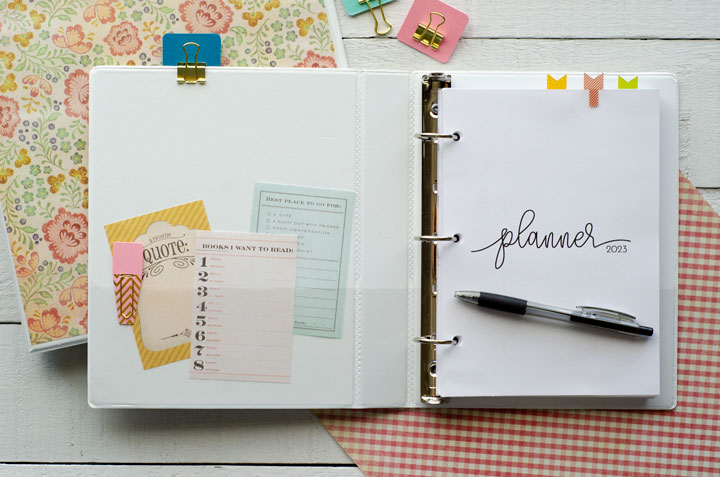
Whether you decide to use the largest planner size available here, 8.5″ x 11″ – which is the most common paper size for home printers and photocopiers or you opt for the smaller A5 size – which can also be printed on most home printers, then you have a couple of options for putting it all together: a 3-ring binder, or spiral binding (more on the latter option in the next section).
Using a 3-ring binder makes building your planner a pretty straightforward process. You simply download and print the free printable planner pages we linked to above, print, and punch your holes using a 3-hole punch.
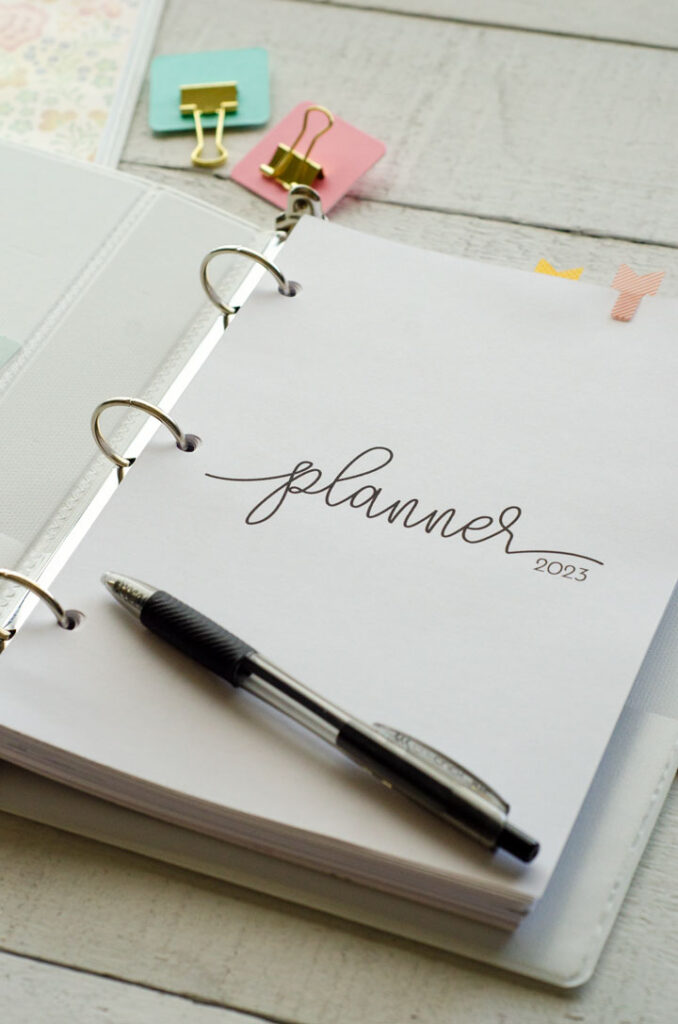
Q. What supplies do you need to make a planner using a binder?
A. Technically, there are two answers depending on which planner size you decide to use.
If you are making an 8.5″ x 11″ planner you will need the following:
:: A Binder: They are available in multiple sizes, ranging from 1/2″ to 3″. If you’re looking for something in between to fit all your pages, we suggest the 1.5″ Avery Durable View 3-Ring Binder, but you can select any size you think you will need. You can fill the clear cover with Patterned Scrapbook Paper or you can buy a binder that is already beautifully patterned. If you go with the patterned scrapbook paper we suggest using 12″ x 12″ paper that you can trim down to whatever size you need.
:: Paper: 8.5″ x 11″ paper is the most common size used with home printers. While you can use any brand you like, we like using HP Printer Paper for a good result. We’ve also used Hammermill paper without any issues.
:: 3-Hole Punch: To punch the holes in your paper we recommend this Swingline Desktop Hole Punch.
If you are making an A5 size planner you will need the following:
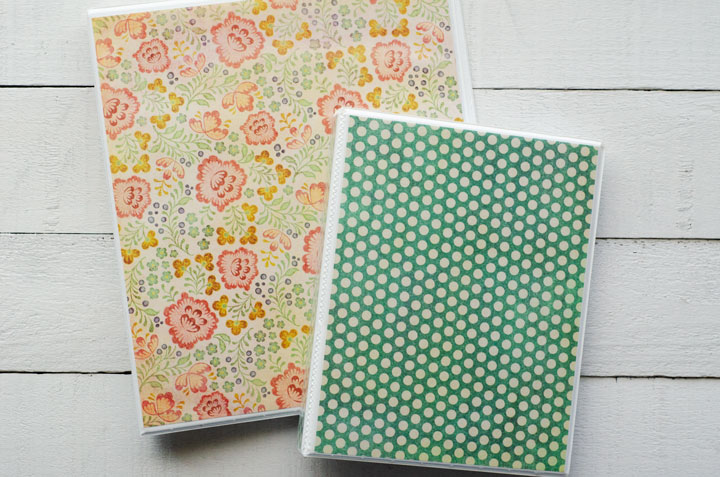
:: A binder: Yes, there are binders that will fit A5 paper! Though fewer width options are available for a standard binder in this size, there is a 1″ Avery Mini Economy View Binder that should suit your needs. You could likewise go for a 6-ring notebook cover…there really are a lot of options out there depending on what you’re going for! Below is a picture of a binder for 8.5″ x 11″ paper and one for A5 paper for reference.
:: Paper: You can either cut paper to the A5 size OR you can buy Precut A5 Paper ready to print!
:: Hole Punch: For a 3-hole punch in the A5 paper size you can use a Mini 3-Ring Hole Punch, which many have said works well for A5 paper. If you already have a planner with 6 holes or you purchase one just for these free printable planner pages, you can use this Adjustable 6-Hole Punch that is intended for A5 paper.
DIY Option 2: Building A Spiral-Bound Planner
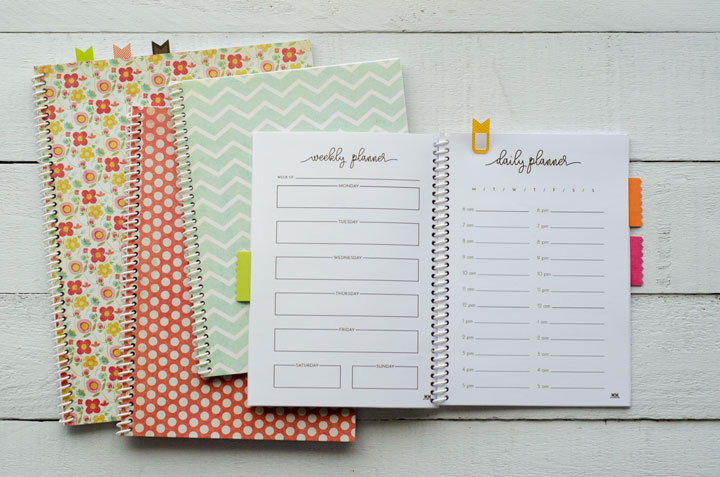
Just as with the binder option above, there are many choices when it comes to making a planner using spiral binding. This method is our favorite because it keeps all the planner pages together so well. Here are some of the benefits of spiral binding your planner:
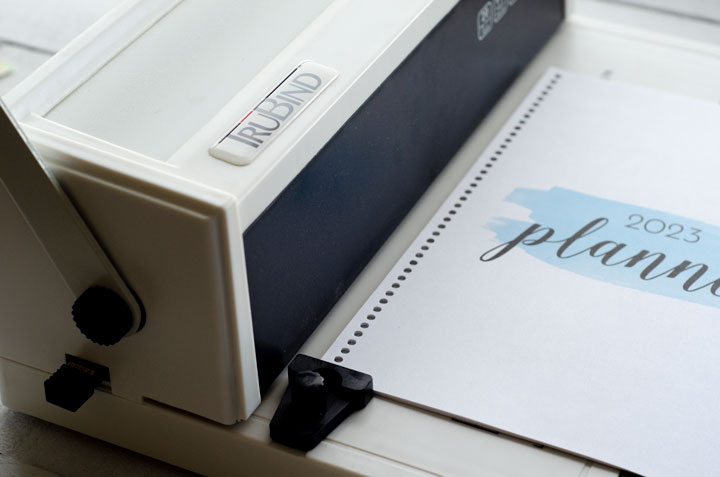
- You can print the pages and bind them yourself with a TruBind Binding Machine and Spiral Binding Coils (<-these ones have a 270-sheet capacity which is a lot, especially if you print double-sided. Keep in mind that there are coils with many varying sheet capacities, so find one that will fit your planner needs). For a less expensive binding machine, we’ve heard good things about the Fellowes Binding Machine and Comb Bindings.
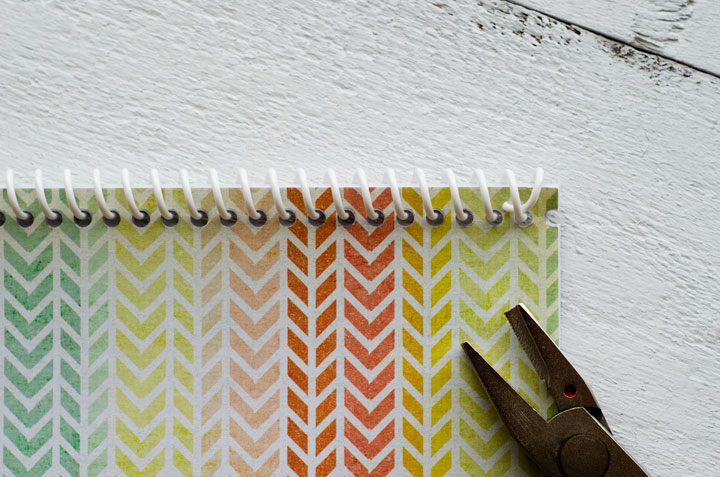
2. If you don’t have a binding machine and have no plans to purchase one you can print all your pages at home and have them bound at an office supply store for a small fee. More on this option is below.
3. You can print and bind any and all planner size options available on our site – the largest being the 8.5″ x 11″ planner and the smallest being the A5 size planner. The binding coils can be trimmed to any size smaller than the 8.5″ x 11″ size so they will work for everything.
4. You can use whatever cover you want and it will fit perfectly. Using either decorative scrapbook paper or the Planner Cover Pages we have available for you to print, you can trim them to size or print the size you need and you will have a cover that fits both your planner and your style just right.
DIY Option 3: Big Box Store or Print Shop Printing
If you opt to have your planner printed and bound at a big box store (like Staples) or a print shop (like Kinkos), after determining how you want your planner set up (our a la carte planner pages allow for ultimate flexibility in building a planner that works for you!), you’ll generally get it printed in one of two ways.
The first is that you’ll use digital files to get them printed. Some places will have you upload these when you make your purchase online, some will have you bring in your files via a thumb drive or other methods, and some will have the option to do either.
Regardless of which method you choose, it’s just a matter of getting your files ready for easy printing. You can either use the individual PDFs provided across the planner page posts here on Printabulls or use some kind of PDF combiner.
In our experience, the second option of combining the PDFs shifts the work upfront but is often easiest to get printed exactly what you envision. This way you’re essentially building your planner digitally and then having the location print it all out vs. trying to print AND assemble at the location proper. There are a number of free PDF combiners out there for this option!
The second option is to print everything you want to be bound at home but then take your printed planner to a store for the binding and cover portion (some shops will allow you to buy a clear hard front and back cover for your planner if that’s what you prefer). In our experience, this option can be problematic if you don’t communicate with the store before doing all your printing. A simple phone call to make sure they are capable of doing everything you want before you do all your printing and prep work will save a lot of possible frustration at the store.
If you’re wanting to trim down the medium size from 7″ x 10″ to 7″ x 9″ to get that perfect medium-size planner then we recommend doing your printing and trimming at home depending on the store’s ability to trim for you. Otherwise, we’d recommend using a PDF combiner and preparing everything digitally, and then getting it printed and bound at your preferred store. Whichever way you decide to do it, you should end up with a planner built by you for a fraction of the price of what a planner might normally cost!
DIY Planner Pro Tips
Some tips to help you along your planner-building journey:
- We provide the printables, but you make your planner uniquely you! Look into colored gel pens, fun additions, tab divider stickers, paper clips, and washi tape to really make your planner lively and pleasant to use! The more you love it, the more you’ll use it, and the more organized you will be! Use your favorite paper, cardstock, clear PVC covers, etc. These planners are totally customizable to you!
- Print double-sided! If your printer has a setting to print double-sided, use it! If it doesn’t with a little trial and error it is easy to figure out how to print on a single sheet of paper, flip it around, and feed it back through your printer so it prints on the back. This may take a few sheets of paper to figure out how your printer works but it is well worth it as printing double-sided saves you paper (and therefore money) in the long run and will make your planner a much more manageable thickness and weight.
- Print with the “borderless” setting if your printer has it. A few of our planners have pages with design elements (or even the entire background) that go right to the edge. For these planners, you’ll definitely want to print using a “borderless” setting on your printer in order to avoid a small white border that most printers will leave if you don’t select this option. Like double-sided printing, this typically just requires a little trial and error to get right BEFORE trying to print everything you want in your planner. We promise you that if you’re willing to experiment a little bit you’ll end up with a planner you LOVE! While every printer varies in its capabilities here is what we generally found to work after having test printed every page we offer across all planner page types.
- Full Size (8.5″ x 11″) Planner – Because this is both the most common and the standard size of paper, printing these should be a breeze. We’ve never seen a printer that doesn’t offer the option to print “borderless” for this size of paper. Sometimes, you do have to select a flyout from the 8.5″x11″ print option but we have always been able to find it. Please note, that you’ll likely need to print from System Dialog instead of your browser’s print interface to find this option.
- Medium Size Planner – (7″ x 10″) Of the three planner sizes, this one is definitely the most tricky. While 7″ x 10″ is a fairly common size, with paper available in this size, not all printers have this size (sometimes called “Executive” or “NA Executive” in our experience) which means there might be a little more work here. The bolder route is to create a custom paper size in your printer settings. Doing so would require you to set the planner’s margins (top/bottom .75″ and left/right of .625) but the problem we ran into is that not all printers will then allow you to print borderless with a custom paper size. The second option is to use a more standard size available in your printer settings (we used JIS B5) so that you can print borderless. The drawback of using this available size is that the JIS B5 size is not perfectly 7″x10″ (it is 7.17 x 10.12 so just barely different). From all of our test printing, using this size despite the small size discrepancy made little to no discernible difference. Further, we found that if it looked ever so slightly off we could change the scale from 100% to 101% and be just fine. Either way, using JIS B5 is not going to be perfect but either of these options still resulted in gorgeous planners with nothing so amiss that the functionality or design is ruined. Lastly, either the custom paper size or the JIS B5 still allows you to trim your planner down to 7″ x 9″ if you want it to be truly custom. More on this below. With all that said, we’d simply caution that the medium size (which we LOVE) will work absolutely great (we printed all 8 planners in this size!) but will without a doubt require the most work of the three sizes depending on how you decide to print it and your printer’s capabilities.
- Small Size Planner (5.83″ x 8.27″) – Like the Full Size planner, this one is a standard paper size. Therefore, it would be very surprising if there isn’t a borderless option to select from when printing any planner that requires borderless printing. Please note, that you’ll likely need to print from System Dialog instead of your browser’s print interface to find this borderless option.
- Special Planner Size: 7″ x 9″. As noted above, this is a popular planner size but it is also very custom. We couldn’t find this specific size paper anywhere! Our solution was to offer the 7″ x 10″ Medium Size Planner with margins designed to allow for trimming to the 7″ x 9″ size. Thus, if you’re wanting the 7″ x 9″ size you will need to print the 7″ x 10″ planner printable and trim 1/2″ off both the top and bottom. If it’s a design with a border it may get cut off slightly but will still look great and the functionality of the planner in every way you need will still work seamlessly. To trim your paper, we like using either the Fiskars Paper Trimmer or Swingline Guillotine Paper Cutter.
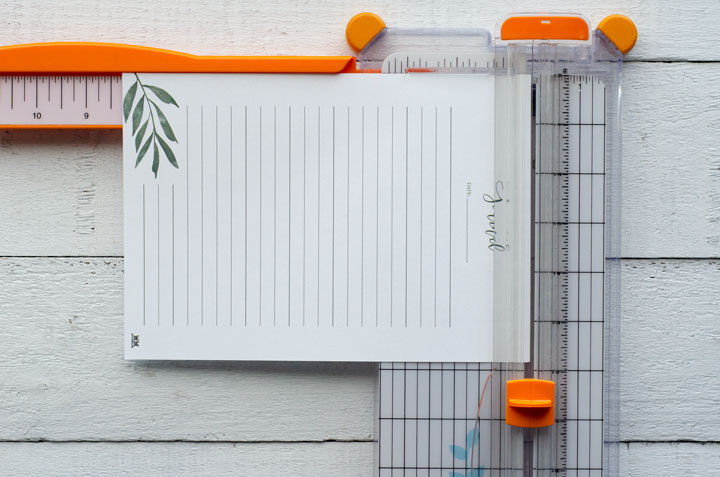
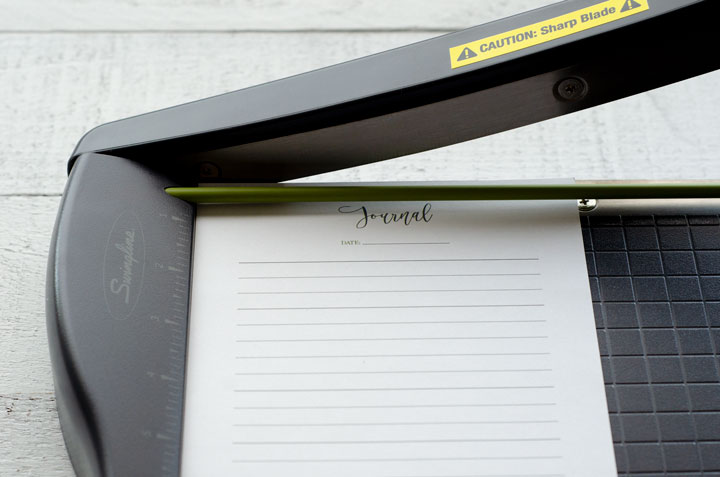
If you have any questions please leave us a comment below and we’d be happy to help you with your DIY planner. We’ve test-printed every single page of our printables to ensure they are just right and ready for you to begin your journey to ultimate organization. With our printables and your special touch, we know you’re going to end up with a planner you’ll absolutely love! Happy printing and planning!
